 Save
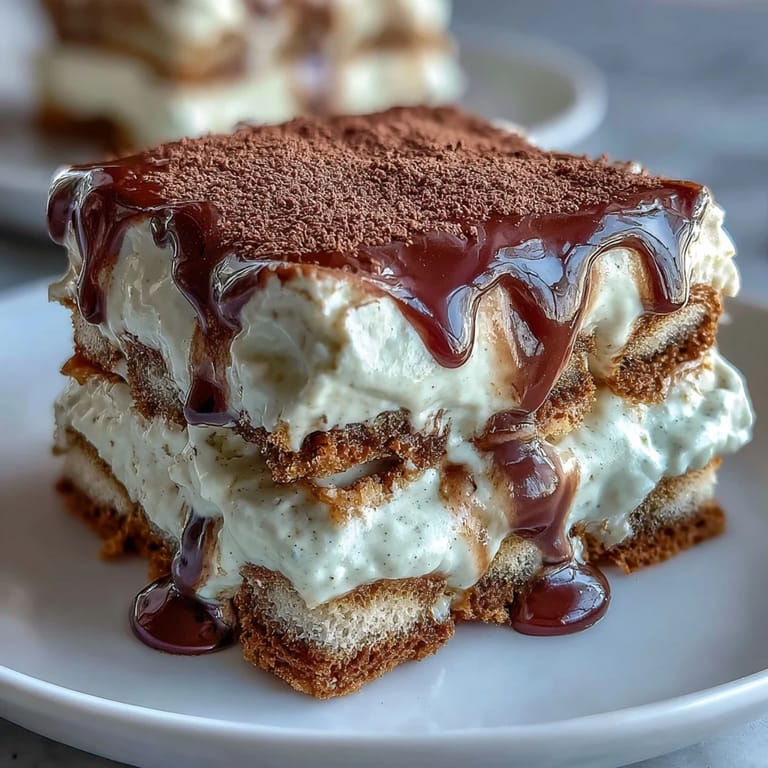
Save My neighbor brought over a tin of hojicha tea one autumn morning, and I was completely captivated by its toasty, almost nutty aroma—nothing like the grassy green teas I'd grown up with. That same week, I was craving tiramisu but wanted something that felt less predictable, and suddenly it hit me: what if I brewed that hojicha into a syrup and used it instead of coffee? The first batch turned out beautifully layered, with this warm, earthy undertone that made the creamy mascarpone feel almost silky by comparison. Now whenever someone asks what I've been making, this is the dessert I reach for.
I made this for a dinner party last spring when my sister announced she'd started learning Japanese, and watching her face when she tasted the hojicha-mascarpone combination was priceless—she kept asking how I'd managed to make something taste both Italian and Japanese at the same time. That moment taught me that food can be a conversation starter in ways you don't always expect, and this dessert became the thing people still text me about months later.
Ingredients
- Hojicha loose leaf tea: This roasted green tea has a deeper, more complex flavor than regular green tea—think toasted grain and caramel notes. Loose leaf gives you more control over strength than tea bags, but either works beautifully.
- Mascarpone cheese: Let it soften at room temperature for at least 30 minutes before mixing, otherwise you'll fight little lumps that refuse to blend smoothly into the cream.
- Heavy cream: Keep it cold right up until you whip it, and stop beating the moment you see stiff peaks or you'll end up with something closer to butter.
- Egg yolks: The double boiler method might feel fussy, but it's what keeps them silky instead of scrambled, and it's truly worth those extra few minutes of whisking.
- Ladyfinger biscuits: Look for savoiardi—they have a slightly drier texture that absorbs the hojicha syrup without falling apart like softer sponge cakes would.
- Cocoa or hojicha powder for dusting: A fine sifter makes all the difference between an elegant finish and clumpy powder scattered unevenly across the top.
Tired of Takeout? 🥡
Get 10 meals you can make faster than delivery arrives. Seriously.
One email. No spam. Unsubscribe anytime.
Instructions
- Brew the hojicha syrup:
- Boil your water and pour it over the hojicha tea, letting it steep for exactly 5 minutes—any longer and it becomes bitter, any shorter and you lose that roasted depth. Strain it while hot, stir in the sugar until it dissolves, then set it aside to cool completely; warm syrup will melt your cream later.
- Create the silky egg base:
- Whisk your egg yolks and sugar together in a heatproof bowl, then set it over simmering water without letting the bowl touch the water itself. Whisk constantly for 5 to 7 minutes until the mixture is pale, thick, and ribbons form when you lift the whisk—this pasteurizes the eggs and incorporates air at the same time.
- Build the cream layers:
- In one bowl, whip your cold heavy cream to stiff peaks and set it aside, then beat the softened mascarpone with vanilla until it's smooth and creamy. Fold the cooled egg mixture into the mascarpone gently, then fold in the whipped cream in two additions to keep everything light and airy.
- Assemble with care:
- Briefly dip each ladyfinger into the cooled hojicha syrup—no more than a second per side or they'll disintegrate—and arrange them in a single layer in your dish. Spread half the mascarpone cream over the ladyfingers, then repeat with another layer of dipped ladyfingers and the remaining cream, smoothing the top gently.
- Chill and set:
- Cover the dish with plastic wrap and refrigerate for at least 4 hours, though overnight is genuinely better because the flavors meld and the texture becomes more cohesive. The cold time also gives the ladyfingers a chance to soften slightly and absorb more of the hojicha flavor.
- Finish with a dusting:
- Just before serving, hold your sifter a few inches above the dessert and tap it gently to create an even, delicate coat of cocoa or hojicha powder across the top. This final touch looks restaurant-quality and adds a subtle flavor reminder of what makes this dessert special.
 Save
Save The first time someone asked for seconds at a dinner party because of this dessert, I realized it had become more than just a clever fusion idea—it was something that genuinely brought people together. There's something about serving a dessert that's both comforting and unexpected that makes everyone relax a little and linger longer at the table.
The Magic of Hojicha in Desserts
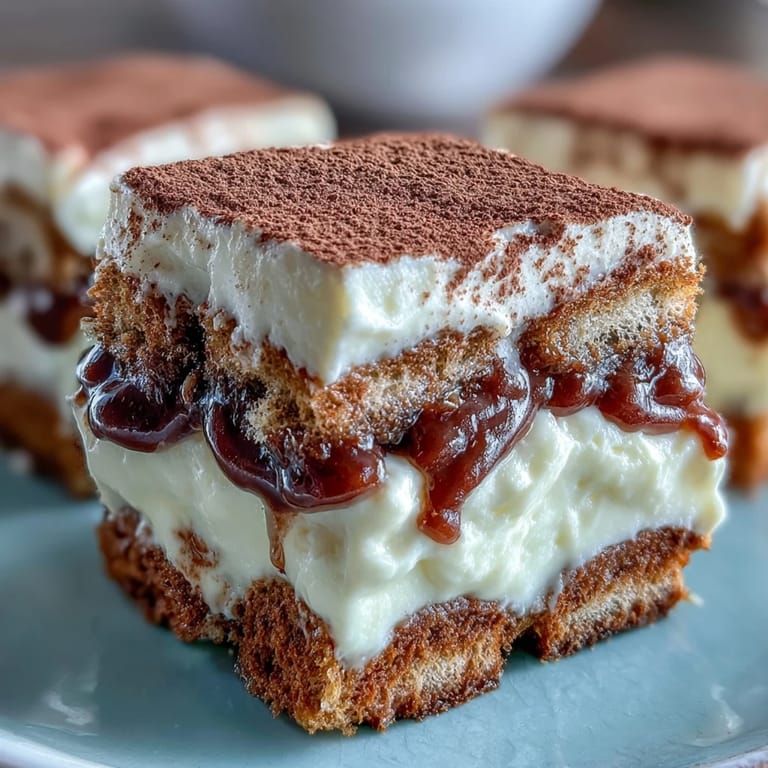
Hojicha is roasted after drying, which removes some of the caffeine and adds these deep, almost chocolatey undertones that work beautifully with creamy, rich desserts. I started experimenting with it in other things—panna cotta, ice cream, even cheesecake—but tiramisu was where it truly shined, because the contrast between the earthy tea and the sweet mascarpone feels intentional rather than accidental. If you've only ever had tiramisu made with espresso, this version might surprise you with how sophisticated and different it can taste.
Timing and Make-Ahead Strategy
One of the loveliest things about this dessert is that it actually improves if you make it a day or two ahead, because the flavors have time to get to know each other and the texture becomes more unified. I like to prep the hojicha syrup in the morning, make the cream in the afternoon, and assemble everything in the evening so it's completely set by the time guests arrive. This means you can spend your dinner party time enjoying people instead of stressed in the kitchen, which honestly feels like the whole point of cooking for others.
Customizing Without Losing the Soul
The beauty of this recipe is that it's flexible enough to adapt to what you have on hand or what you're craving, without becoming something entirely different. If you want to add a little alcohol, a splash of coffee liqueur or Marsala wine in the hojicha syrup adds warmth without overpowering the tea, and if you prefer something brighter and grassier, matcha swaps in seamlessly for the hojicha. For garnish, I've topped it with toasted sesame seeds for extra nuttiness, scattered crushed pistachios, or even a light drizzle of white chocolate—whatever felt right for the moment.
- Substitute matcha powder if you want a brighter, more floral-forward version that still feels Japanese.
- Add a touch of liqueur to the syrup if you want to deepen the flavor for a more adult dessert.
- Make it gluten-free by using gluten-free ladyfingers, which are easier to find than you might expect.
 Save
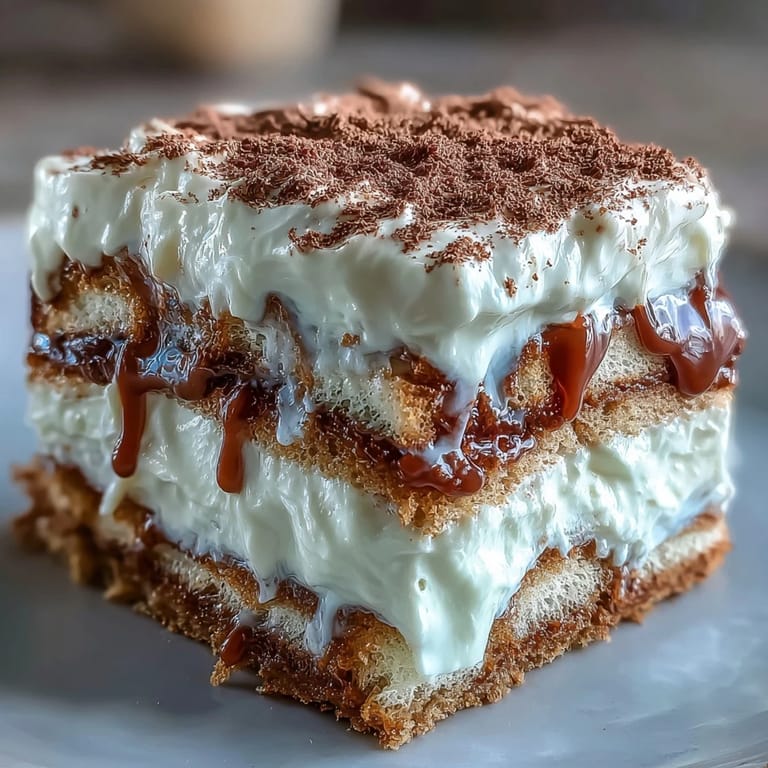
Save This dessert has become the one I make whenever I want to feel like I'm doing something both comforting and a little bit adventurous. It's the perfect reminder that some of the best things in the kitchen happen when you're willing to blend what you love about different traditions and trust that the flavors will know how to get along.
Recipe FAQs
- → What does hojicha taste like?
Hojicha has a distinctive roasted, nutty flavor with earthy undertones. Unlike green teas, it's less vegetal and more mellow, with caramel-like notes that pair beautifully with creamy desserts.
- → Can I make this dessert alcohol-free?
Absolutely! This version is naturally alcohol-free. If you'd like to add a boozy kick, you can incorporate coffee liqueur or Marsala wine into the tea syrup.
- → How long should I chill the tiramisu?
For best results, chill for at least 4 hours, though overnight chilling (8-12 hours) allows the flavors to develop fully and the texture to set perfectly.
- → Can I substitute the hojicha tea?
Matcha powder works well for a brighter, grassier flavor. Regular coffee or chai tea could also create interesting variations, though the flavor profile will change significantly.
- → Why do I need to cook the egg yolks?
Gently cooking the egg yolks creates a safe, stabilized base that adds richness and helps the cream hold its structure. This technique ensures food safety while creating a silky texture.
- → How do I store leftovers?
Cover tightly and refrigerate for up to 3 days. The flavors will continue to meld, making it even more delicious the next day. Avoid freezing as it will alter the texture.